
Learning Pool Learning Record Store xAPI Reports and Exports – Part 2
October 23, 2014
This blog post is the second in a three part series on what we call reports and exports; and in this post I’ll be talking about exports.
Exports are a new feature that we introduced in version 1.1.0, this is a feature for people who want to get data out of Learning Pool LRS into other external applications such as Microsoft Office Excel, Google Sheets, and even other LRSs.
If you’re new to this series, please check out part one before continuing. Reports and exports are inherently linked – you can only export data from a pre-existing report. You can’t just query the whole dataset.
How do I create an Export in Learning Pool LRS?
Go to Learning Pool LRS in your web browser, select an LRS from the “LRS List” (top right). Once you’ve done that, you can select Exports from the menu on the left, you should see a page that looks something like this…
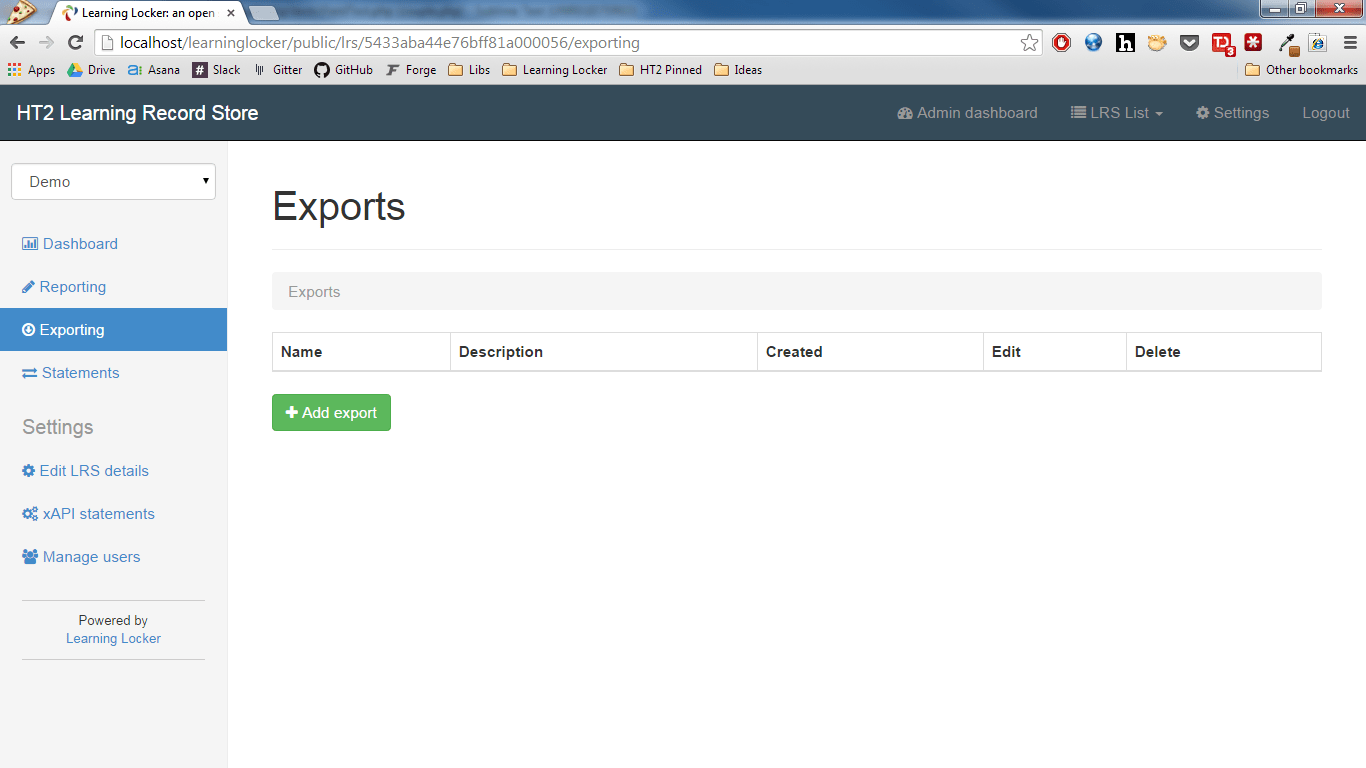
…right now you probably don’t have any exports so let’s go ahead and create one. Click the Add export button and then move on to the next part below.
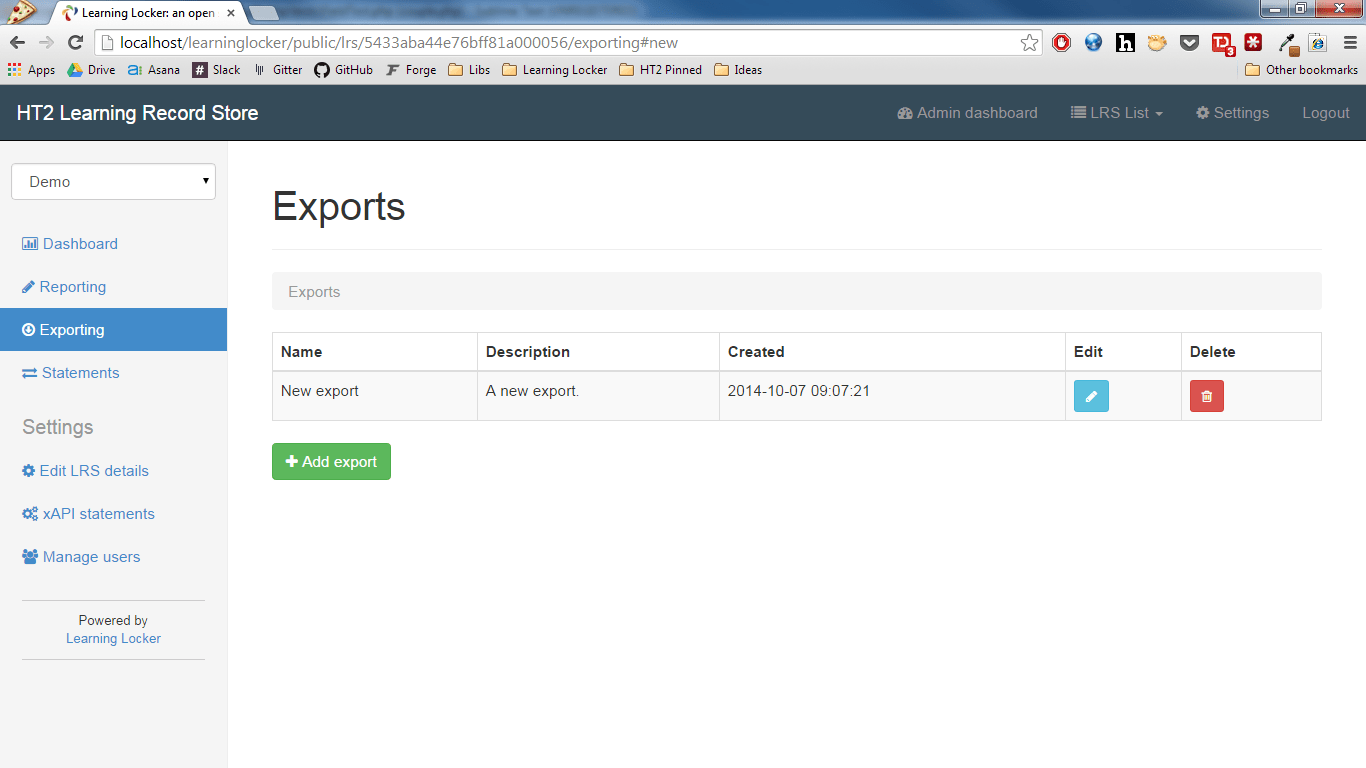
Click the blue edit icon (the icon with the pencil). Once you’ve clicked that you should see something a little like this…
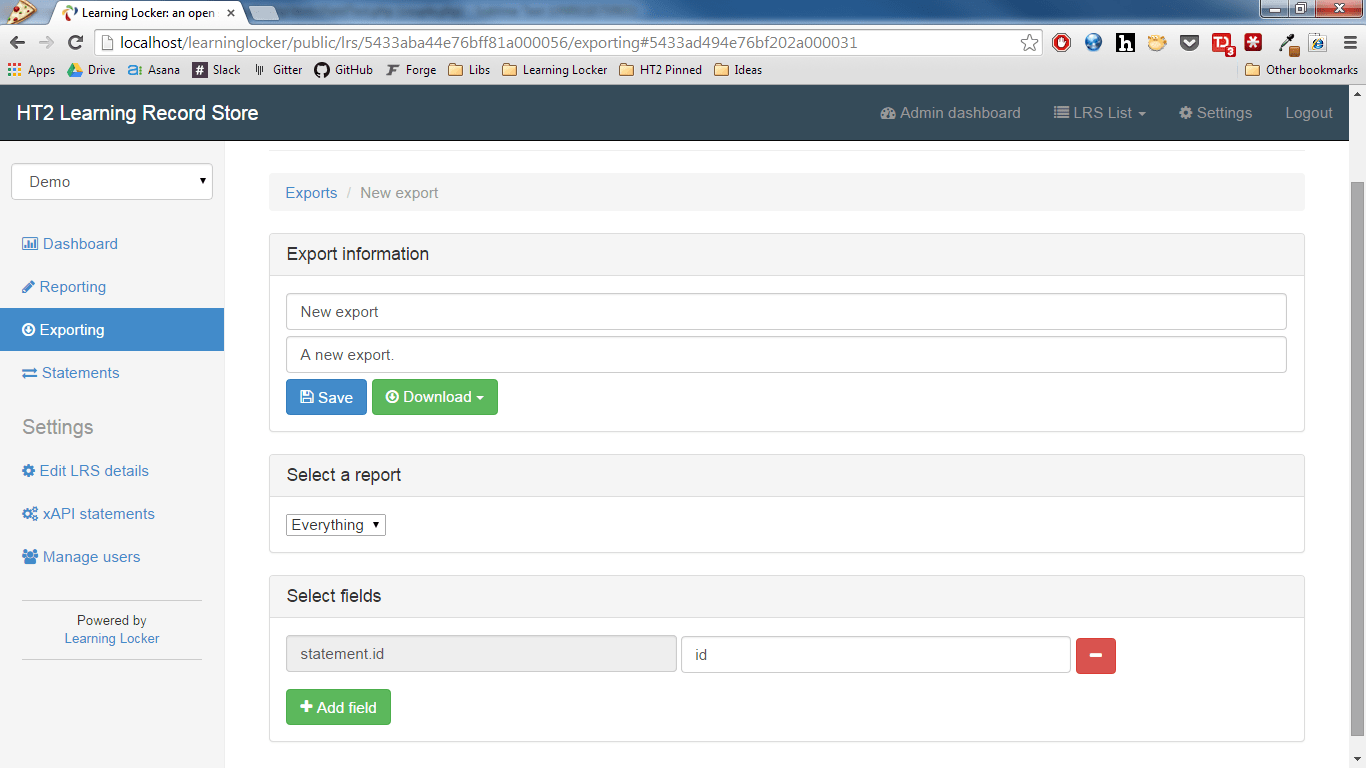
There are three parts to creating an export, you need to enter the “Export information”, and you need to “Select a report” and “Select fields”.
I’m going to walk you through each of these steps in the sections below.
How do I Enter the Export Information?
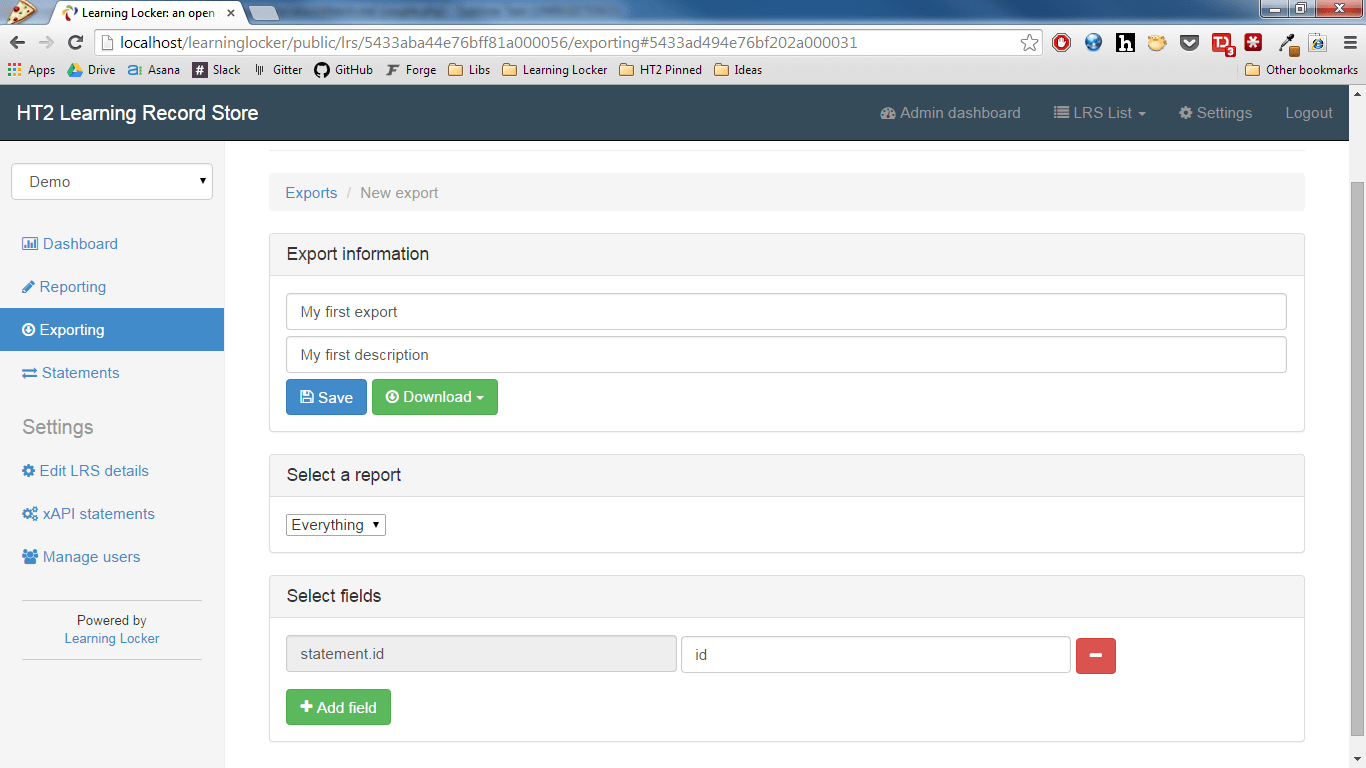
Where it currently says “New export”, type a name for your export, something like “My first export” will do. Where it currently says “A new export” you enter some text that describes what this export does, replacing the current description with your own. Your export should now look something like this…
Selecting a report
Exports are run on the data queried in a report. If you haven’t yet made a report, now is the time to pop back to part one and get your first report running. I made a report called “Everything” before I started this post. You can select your own by selecting it from the drop down list under the “Select a report” heading.
What are fields?
Fields are where things start to get slightly complicated for the uninitiated. An export has a number of fields; each field has two parts, (1) the “statement property name” and (2) the “export property name”.
Each xAPI statement in your LRS has a number of properties that take the form “statement.property”. The “statement property name” refers to this.
The “export property name” of your field will be the name of the property in your export. Essentially the “statement property name” is changed for the “export property name” in your exports (this makes your exported data easier to understand for yourself and others; you can replace xAPI language with easier semantics for others to work with your exports).
Consider this example. You create a report that lists out all the statements of people completing a given activity, maybe completing a course. For your export you don’t need to know all the data, you just want to know who completed the activity and when. To do this you need to select two statement properties, “statement.actor.name” (the actor) and “statement.timestamp” (the when). You want to change the name of these two fields to something you recognise more easily like “Person” (the actor) and “Time” (the when).
You can do this by changing the “statement property name” (the left-most text box) of the first field from “statement.id” to “statement.actor.name” and the “export property name” (the right-most text box) to “Person”.
Now you need to add the second field, you can do this by clicking the green “Add field” button, then following a similar process using the text boxes. In the new field that appears type “statement.timestamp” into the left-most textbox (“statement property name”), and “Time” into the right-most textbox (“export property name”).
If you need to remove a field you can do so by clicking the red “-” (delete) button next to the field. If you have done this then your export should now looks something like this…
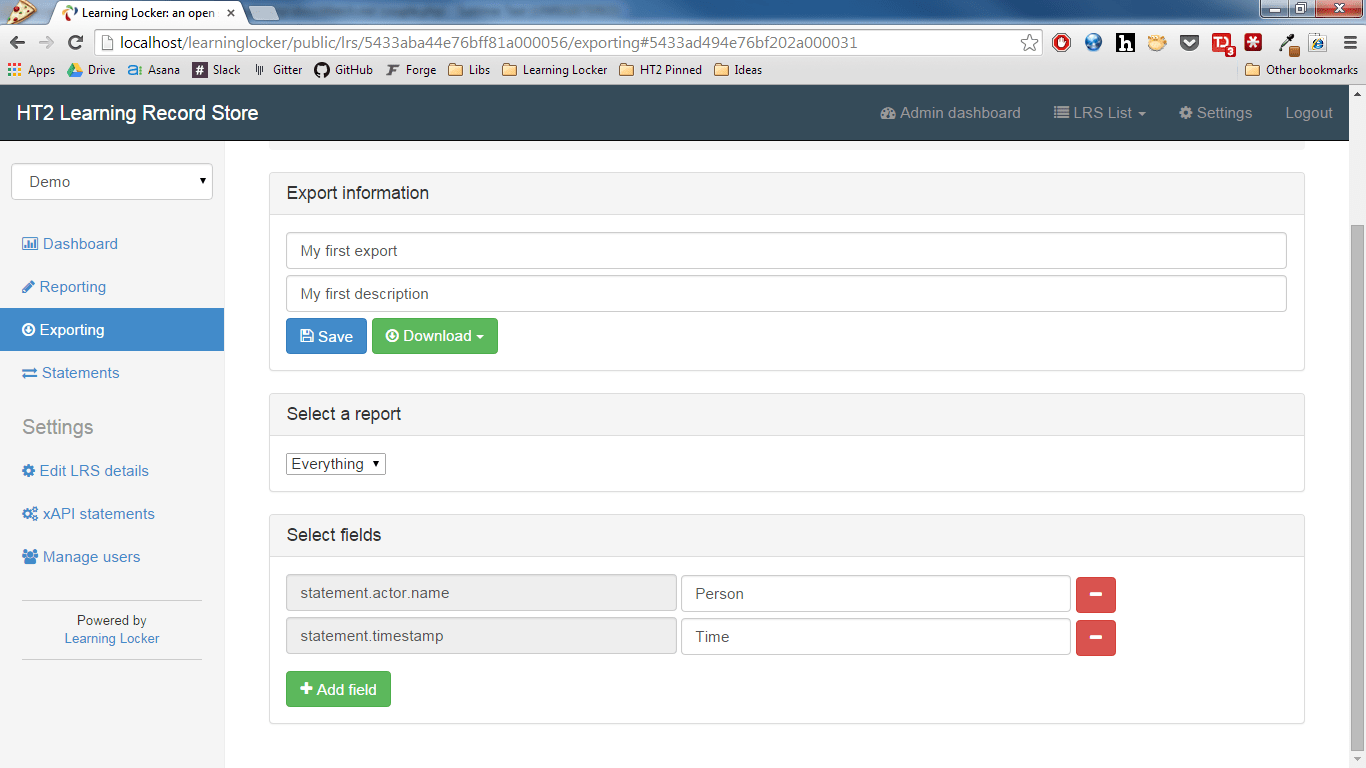
When you were entering “statement property names” into the left-most text boxes you should have noticed that we try to help you by suggesting property names as you type. Currently all of the “statement property names” begin with “statement.” so always start by typing “statement.” and then selecting one of the property names from the list that appears below the text box.
You can use the xAPI specification to find more fields and learn about what they mean, but note, they can vary from this list.
What can I do now?
Now that you’ve completed the three sections for creating an export, you can save your export by clicking the blue Save button. Once you have saved it you can continue editing your export (make sure you save your changes after editing), or you can download it as a CSV or a JSON file.
Go ahead and download it as a CSV by clicking the green “Download” drop down and selecting “CSV”. I’ve gone ahead and opened my downloaded CSV in excel and here’s what it looks like…
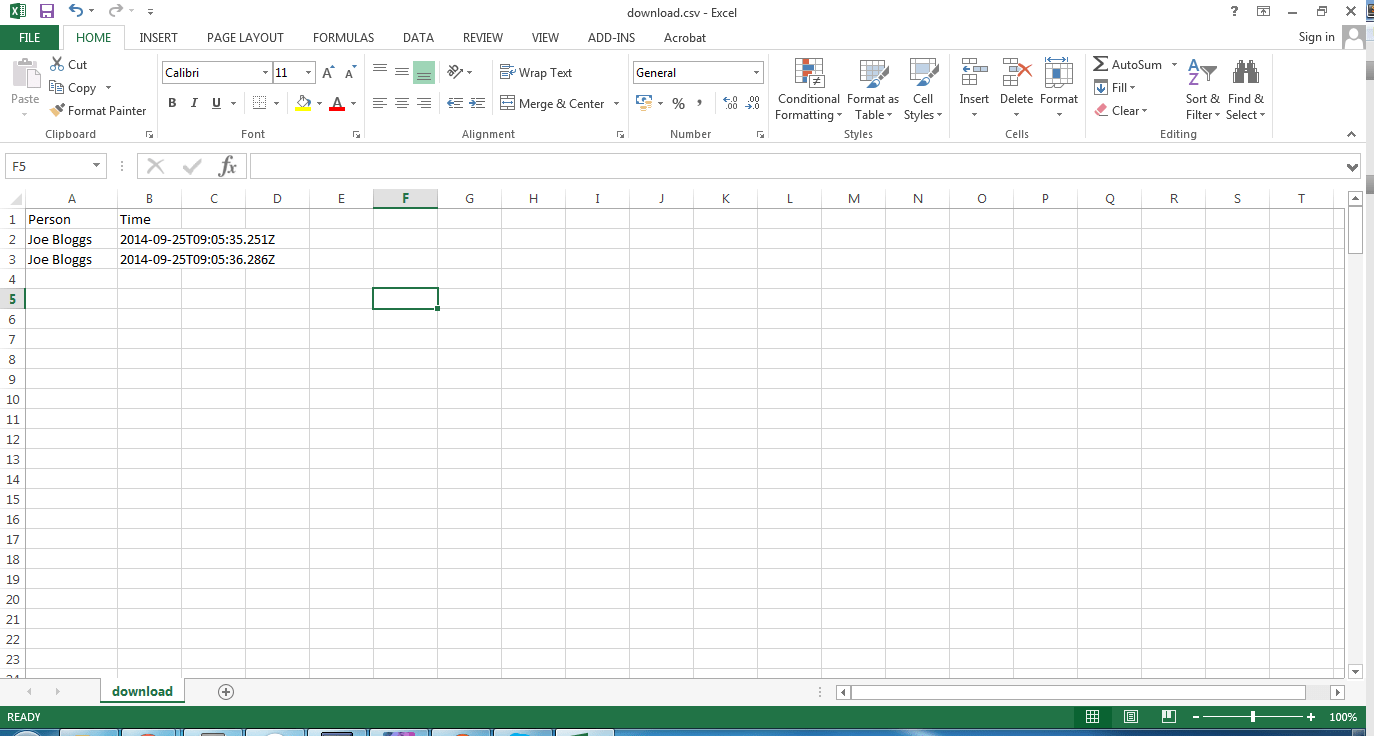
…this particular export is pretty simple, but you can do some really great things with these exports like using the data to analyse activity and effort, in part three of this series, I’ll show you how you can use Google sheets to make some awesome graphs to do just that!
On a Final Note
I hope you’ve now got the hang of reports and exports in Learning Pool LRS. If you find any issues with our exporting tool please report them in our issue tracker on Github.
Like the reporting tool, the exporting tool is generic and intended as a starting point, so, if you have some specific data/exporting needs, then get in touch to discuss your requirements.
Got a learning problem to solve?
Get in touch to discover how we can help

